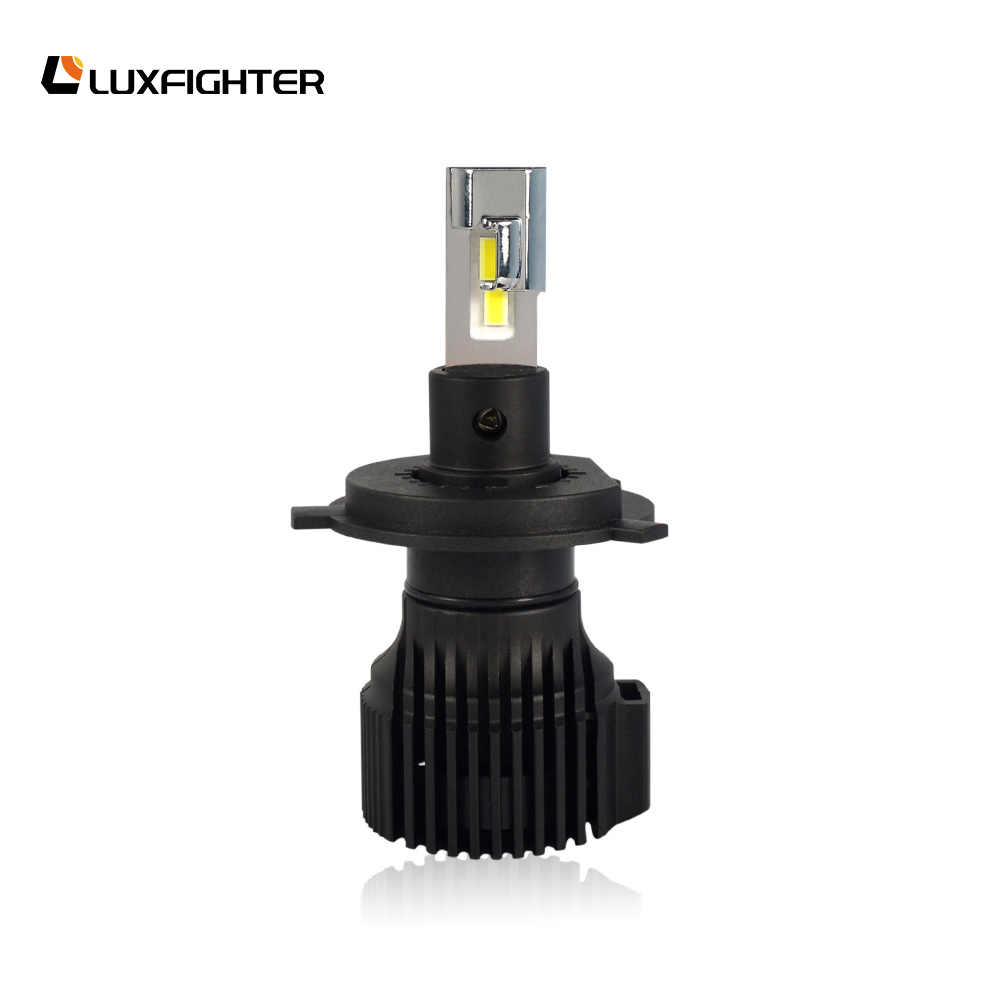
Shedding Light on DIY: A Guide to Replacing Headlight Bulbs in Your Car
2024-03-22
Replacing a headlight bulb may seem like a daunting task, but with the right knowledge and tools, it can be a straightforward DIY project. Whether your bulb has burned out or you're upgrading to a brighter option, knowing how to replace it properly is essential for maintaining visibility and safety on the road. In this blog, we'll walk you through the installation process for replacing a headlight bulb in your car and discuss any specific tools you may need.
1. Gather the Necessary Tools:
Before you begin, gather the following tools and materials:
- Replacement headlight bulb (ensure it is compatible with your car's make and model)
- Latex gloves or a clean cloth (to avoid touching the bulb with bare hands)
- Safety glasses or goggles (to protect your eyes from debris)
- Basic hand tools (such as screwdrivers or pliers, depending on your car's design)
- Owner's manual or repair guide (for specific instructions and precautions)
2. Access the Headlight Assembly:
Depending on your car's make and model, accessing the headlight assembly may vary. In general, you'll need to open the hood and locate the rear of the headlight assembly. Some vehicles may have easy access from the engine bay, while others may require removing a cover or accessing the assembly from behind the headlight housing.
3. Remove the Old Bulb:
Once you have access to the headlight assembly, locate the back of the bulb socket. Depending on the design, you may need to twist the socket counterclockwise or pull it straight out to remove it. Be sure to disconnect any electrical connectors or retaining clips securing the bulb in place.
4. Install the New Bulb:
Handle the new bulb with care, avoiding touching the glass surface with bare hands, as oils from your skin can cause premature bulb failure. If necessary, wear latex gloves or use a clean cloth to handle the bulb. Align the new bulb with the socket and insert it into place, ensuring it is properly seated and secured.
5. Reassemble the Headlight Assembly:
Once the new bulb is installed, reattach the bulb socket and any electrical connectors or retaining clips. Double-check that everything is securely in place before reassembling any covers or panels that were removed to access the headlight assembly.
6. Test the Headlight:
Before closing the hood, turn on the headlights to ensure the new bulb is functioning properly. Check for proper alignment and brightness, adjusting the bulb if necessary. If everything looks good, you're ready to hit the road with your newly replaced headlight bulb.
7. Dispose of the Old Bulb Properly:
Dispose of the old headlight bulb according to local regulations and recycling guidelines. Many automotive parts stores offer bulb recycling programs, or you can check with your local waste management facility for proper disposal methods.
In conclusion, replacing a headlight bulb in your car is a manageable task that can be completed with basic tools and minimal time and effort. By following these steps and taking proper precautions, you can ensure optimal visibility and safety on the road with your newly installed headlight bulb. If you're ever unsure or uncomfortable performing the replacement yourself, don't hesitate to seek assistance from a professional mechanic or automotive technician.


